How Can I Add Storage To My Desk Without A Drawer? [11 Ideas]
Having enough storage is becoming quite rare for an office desk. Modern buyers look for sleek and minimalist designs. They don’t like bulky desks with lots of drawers. But, once you start using a desk without a drawer, the storage issue becomes inevitable.
But, it’s too late, isn’t it? Well, not entirely. There’s still some hope. That brings us to the next question. How can you add storage to your desk without a drawer?
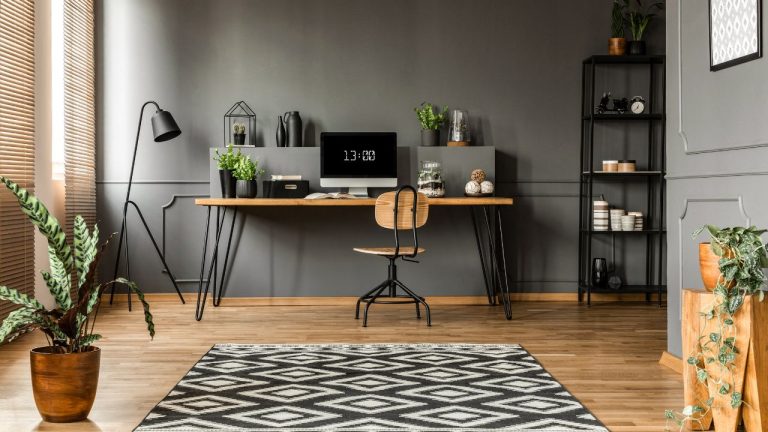
The best way to add more storage to your desk is by decluttering. When there’s less stuff on the desk, it automatically looks spacious. Apart from this, you can also use a desk organizer, monitor stand, cable & keyboard tray, and wall cabinets to increase the storage options.
You have to choose the technique that works best for you. And, you can only do that by learning all the options available to you. So, here we are with our short guide on this topic.
Keep reading to find some wonderful storage ideas for a simple desk.
What To Consider Before Adding Desk Storage?
Desk storage is a must if your job requires a lot of manual paperwork. And, what if the desk has no drawer at all? Don’t worry. Start by navigating the items and then proceed to the next steps.
Declutter As Much As You Can
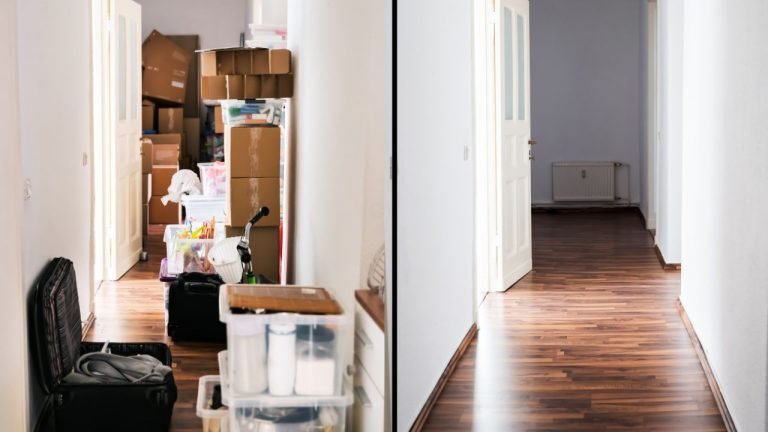
According to Marie Kondo, the best way to organize any place within your house is by decluttering. So, why don’t we apply the same technique to the desk as well? Decluttering simply means reducing the presence of unimportant items. Before you plan for storage, it’s important to know which items deserve to be on the desktop.
Suppose you have a pile of documents on the desk. But it takes a lot of effort to find the important file right away. Does it happen to you too? Then, my friend, all you need is decluttering.
But here’s the catch. You can’t relocate every item on the desk. that would be impractical. So, here’s a step-by-step guide on how to declutter your desk without a drawer successfully.
Categorize Each Item
First things first you have to categorize each item on the desktop. Make a list and write three categories titled “important, less important, and unuseful.” Now, pick the objects like pens, cards, papers, photo frames, etc, and enlist them under any of the categories. Make sure you are fair while doing this.
Let’s make it a bit easier. The items you need regularly should be termed as “important.” Your computer, laptop, books, office files, pens, etc are good examples. Second, we have the “less important” category. Here, you should include things that are useful but not every day. For example, the secondary monitor, printer or scanner, etc. If you only print once a month, it shouldn’t stay in the busy desk area.
Finally, we have the “not useful” category. Any item that is left on the desk at this stage is considered “unuseful.” You might see some sentimental elements like family photos, flower vases, or other decorative stuff.
Keep Each Item To A Designated Place
The most critical part of the task is already over. All you have to do is relocate the items according to their status. If it’s important, you can keep it on the desk. Later, we will explore ideas on how to store these things better. As for the “less important” stuff, try to relocate them. Your closet or the bookshelves might be a better place.
Suppose you have several important books on the desk. It’s wiser to place them somewhere else and increase the space of your desk. Especially, if you don’t need to read them on a daily basis.
Consider Donating Some Stuff
Relocating applies to stuff that is less important or useful to you. Also, make sure to find another home for the sentimental elements on your desk like pictures, plants, and so on. These items increase the beauty of your desk at the cost of taking up more space. So, our suggestion is to put the pictures on your bedside tables.
As for the items you don’t consider useful or sentimental, consider donating or giving away to someone else.
How Can I Add Storage To My Desk Without A Drawer?
Since you don’t have a drawer, we need to use other accessories that work like a cabinet/drawer. Don’t worry. We have not included any over-the-top or super-expensive techniques in our list. All the options are reasonable and easy to install.
On The Desk Storage Ideas
Everyone targets the desktop first when you are trying to add more space. However, we will introduce you to some unique ideas down below. Let’s check the easiest ways first.
1. Monitor Stand
A stand or arm helps the monitor base to rise above the desk surface. The new base of the stand is thinner and takes less space. Even though the change won’t be very significant, it’s worth trying.
You can now place notebooks, laptops, and cell phones under the monitor. Before using the stand, you couldn’t make use of that particular space, right? Now, the same place is used to accommodate both the monitor and other office essentials. That’s a great hack.
2. Pen Holders
You lose pens easily when they are scattered around the desk. Try using a penholder to keep markers, pens, highlighters, paper clips, and so on. Even if these objects are tiny in size, they do take up a lot of space. The desk looks really disorganized and chaotic.
Trust us and get a pen holder for your desk.
3. Desk Organizers
Desk organizers are pretty common in almost every office. It comes with a lot of compartments designated for different office supplies. You can put the documents into the wide paper section. As for the smaller sections, use them to organize the sticking pads, paper cutter, pens, pencils, and so on. Once you finish, the desk will look more spacious than ever. No more papers laying around the desk.
There’s literally no other item that helps you add more storage to the desk than a desk organizer. It really stays true to its name.
Note: In some cases, it’s better not to buy a desk organizer. If you don’t use paper and notepads during work, a desk organizer will most likely waste your space.
Under The Desk Storage Ideas
Making storage options under the desk would be pretty smart as well. Because you hardly notice that part. Plus, it’s easier than installing cabinets. Check out some popular under-the-desk storage ideas.
1. Headphone Hangers
The problem with headphones is that they require quite some space. For most desks, there’s no scope for organizing office essentials after putting both the laptop and headphones on the table. But headphones are “important” considering you need them several times a day.
The smart way to deal with this problem is a headphone hanger. Yes, it’s basically an anchor that is attached to the desk. The fit is universal, so you don’t have to research much. The next time, you are done with the headphone, hang them on the anchor until you need them again. It’s as simple as that. You don’t need a drawer for that.
2. Cable Organizer
The electric devices on your desk won’t run without cables. These cables mostly connect the devices to your main power outlet. But that doesn’t mean the cables have to be in front of you. The electricity will pass perfectly even if you relocate them under the desk surface. Here’s how you do that.
We suggest you buy a regular cable organizer or tray from any local store. It looks like a rack that will collect all the wires and keep them in place. The installation process is not that hard. You only need some screws and a drill machine to install it properly. Here’s a guide on which desks can hold two monitors easily.
You can also choose a cable tray instead of the rack model. The only disadvantage is its price. If you don’t want to spend too much, stick with a fixed cable organizer.
3. Keyboard Tray
Medium size desks have little space after accommodating a long keyboard in front of the monitor. But we have a clever way of getting that occupied space back. For example, a keyboard tray is a viable option at hand. It stays underneath the desk and doesn’t interfere with the desk storage at all.
You can just pull the keyboard out whenever needed. Once you are done, push it back inside. This small hack will save you a lot of space on the desk. Plus, it doesn’t reduce the beauty of your desk at all.
4. Trash Can
You have no idea how handy a trash can might be. Most workers tend to pile up unnecessary papers because the garbage can is too far away. And, soon you forget about it and carry on with your work. Having a trash can within arms reach can solve this issue.
Whenever you think a paper should be thrown away, throw it inside the can. You will notice a cluster-free desk within a short time. Mark the words.
Over The Desk Storage Ideas
The most tedious technique is perhaps creating storage over the desk. By that, we mean the wall against your work desk. Here’s how to use that plane wall to build more storage options for your office supplies.
1. Shelves On The Wall
You can try installing shelves on the wall. You might require help with this. However, shelving allows you to put less important items away from the desk. But they are still within arm’s reach. If you need the notebook, you can look for it on the shelves.
Shelving is most useful for employees who need to read a lot of reference books. The problem is you never know which book will come in handy.
That’s why it’s wise to keep all of them close to your work desk. At the same time, too many books on the desk surface make it look cluttered. The ideal deal would be the shelving technique. You get to have a book-free desk. And, whenever there’s a need, you can use the books organized on the shelves.
2. Drill Some Hangers/Hooks
Don’t want to attach cabinets to the wall? That’s okay. We’ve got you. Try drilling some hooks instead. It’s a low-cost way to reduce the number of objects on the desk. For example, you can hang the coffee mugs, headphones, and cables to declutter the desk area.
Yes, it’s not the most aesthetically pleasing idea. But we wanted the article to be useful for everyone. So, apply this trick if you are really short on budget and don’t care about the looks.
Around the Desk Storage Ideas
If you think all the above options would make your desk look bulky and less aesthetic, this section is for you. It’s not mandatory to install more organizers on the desk to add more storage. You can leave the desk as it is and still enjoy the space. Our final trick is to make use of the area beside the desk. Here’s how to do that.
1. Get A Standard Book Shelf
You can keep more than books on a bookshelf. Yes, we are talking about standard bookshelves with lots of compartments. You can organize your documents, files, and other accessories here.
Especially, if there is any sentimental object which you want to keep close to you (like photos), should occupy one shelf. Imagine how easier it would be. No more worrying about installing different racks, tension rods, etc.
Just buy a simple bookshelf and relocate most office essentials on the shelves. However, keep in mind that your desk should be right beside the bookshelf. Otherwise, it would be a hassle to get up every time you need a file. Interestingly, you might already own a small bookshelf in your house.
In that case, just relocate the desk near the shelf and start reorganizing. You don’t have to invest a penny. Check out this article for more ideas regarding desk placement.
2. Side Cabinets
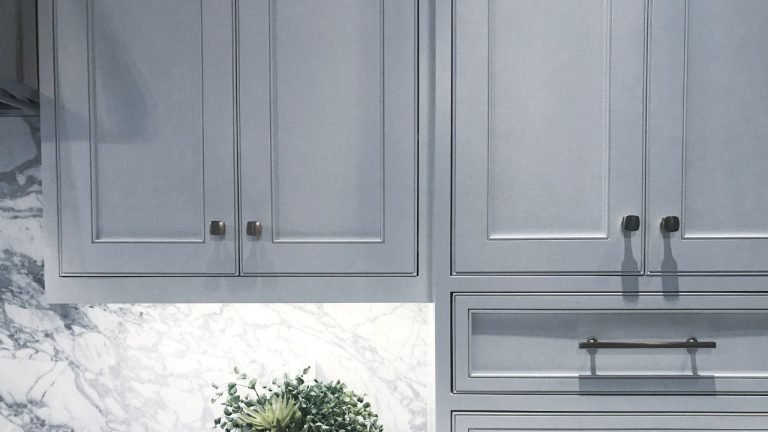
If you don’t have a bookshelf at home, that’s okay. You can go for a separate side cabinet instead. It’s a small storage structure with multiple compartments for your files and other items.
The closed drawers will make it look more organized. So, you can avoid getting desk organizers. If you have a little space around the desk, we would highly suggest you implement this idea. You can even keep your mid-day snacks inside the cabinets.
Wrapping Up
After all these ideas, buying a desk with drawers might look like an easier option. But, there’s no need to be overwhelmed. You don’t have to apply each and every technique mentioned here. Just pick the one which targets the problem you are facing.
For example, if you are a remote worker who needs multiple monitors and laptops, having a desk organizer would be inappropriate. Because you hardly work on paper.
However, you might have a lot of cables laying around the desk and bothering you. In that case, try the cable organizer.
That’s how you have to select the storage ideas which will work for your situation. Hope you have found the article useful. Take care.



![How Do I Convert A Closet To Office Storage? [5 Easy Steps]](https://homethereby.com/wp-content/uploads/2022/12/How-Do-I-Convert-A-Closet-To-Office-Storage-768x432.jpg)