Can Office Sheds Be Portable?
The notion of an office has changed rapidly after the Coronavirus upsurge. Now an office doesn’t concise to a large room with small cubicles. The world can be your office if you can put your imagination and creative instinct into it. How?
An office shed is a home-based office setup nestled outside your home but in your house premise. But an office shed can be portable as well. If you want your shed to be portable, build it on the deck block and lift it, when needed, with an automobile jack.
If you want to take your office shed anywhere with you, a portable shed can rescue you from all your problems. Keep reading this article to learn all about portable office sheds.
What Is A Portable Office Shed?
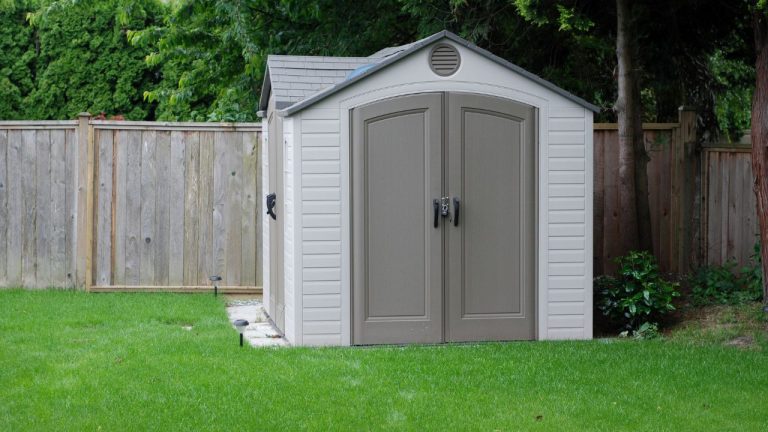
A portable office shed is a transportable shed that is not attached to the ground and can be moved via mobile trucks and trailers. They are elevated from the ground so that you can lift them up and deliver them to the truck.
No matter what the size is, a portable shed is always portable if the vehicle can embrace it. The difference between a prefab shed and a portable shed is that a prefab shed comes in components and is attached to the location one by one.
On the contrary, a portable shed is not required to be collapsible or should come in parts. You can move the whole shed, without separating any components and place them at your convenient place as well.
4 Benefits Of Portable Office Shed
A portable office shed! Is that a bit extravagant? Or is this a necessity in today’s world? I guess if you believe this is just too much, you will change your mind after considering the benefits. If you are in dilemma as to the viability of the portable office shed, then learn about the benefits.
1. Transportability
A very obvious pointer. But it is the truth. The number of portable sheds is that you can transport them anywhere with you. If you are a travel blogger or a freelancer, you will realize how important it is to carry an office with you. A laptop and a charger don’t suffice and don’t do justice to the amount of work that has to be done.
If you are moving to a new location, you can carry them with you without collapsing them first. For a regular shed, you must go through lots of plights to transfer to the next location. But with a portable shed, all you need is a shed mule or skid loader.
2. Monetary Value
A shed nestled at a property increases the value of the property together. A portable shed, however, has other values economically. The resale price of a portable shed is much higher than a regular shed. In addition to that, the cost of transporting a shed is much lower than collapsing a shed, packing it, delivering it, and again assembling it.
3. Installation
I can’t claim that installing a portable shed will be as smooth as butter. Of course, you have to lay down the groundwork which can be a little tricky and time-consuming. Even so, it is rather easy to install a portable shed than a prefab shed or built shed on the premise. As you can build the base, other procedures are quick and easy.
4. Flexible
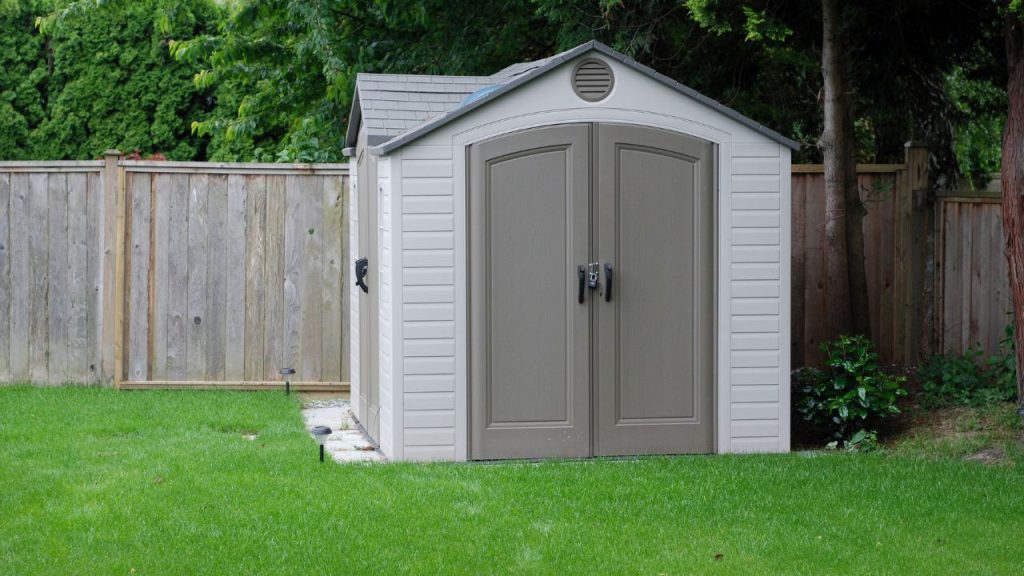
You can use the shed as anything and everything. It can be your home office, your storage facility, or a garden shed. If you want to set up an office permanently, opt for the furniture and devices that can be attached to the shed walls or floor. That way, you don’t have to move all the stuff inside before transporting it.
How To Make A Portable Office Shed?
Making a portable office shed is not a task for beginners. If you are handy with the construction regime and you have the required skill and materials for such a task, you can take it up to the challenge. And, of course, I am here to guide you throughout your journey. Let’s dig in.
1. Comply With The Zoning Law
Yes, Yes, the paperwork. This is not the most exciting part, but it is a crucial part. The zoning law and the construction code of the state where you want to move and set the portable shed must be complied with. You can consult a construction specialist to learn about them thoroughly.
The construction codes and zoning law will not only guide you to fetch a permit for your shed, but it will also direct you to what kind of anchors you can use to set your shed. Anchoring can be done in different ways and the weather of a certain location dictates what type of anchoring suits their location. Thus, a meticulous investigation of the codes is the first priority.
2. Deck Blocks Grounding
Deck blocks are the primary concrete objects which will withstand your shed and be the connection between the ground and the shed. Make sure the deck blocks have the notches to hold and support your beam. Deck blocks are not attached to the shed. When the shed is moved, the blocks will be separated.
Firstly, dig the floor where you want to set your shed. Press the blocks to the ground so that the floor of the shed can be on the ground level and sustain good support. The blocks should be equidistant and close enough to support the floor. Ideally, a 4 to 6 feet gap in the middle is preferable as per the size of the shed.
3. Prepare The Outer Frame
The outer frame with connect to the deck blocks. Thus, it is important that it is accurate enough to connect with the deck blocks and secure enough to withstand the shed. The outer frame is generally prepared by timber, but there is no hard and fast rule to that. For an outer frame, measure the dimensions of your shed and prepare 2 rim joists and 2 joists.
Take note of the fact that, if the distance of the rim joists corresponds to the distance of the shed, you must deduct the width of the front and rear rim joists from the width value of the shed in order to determine the length of the joists.
Mark the necessary locations for your cuts with a help of a speed square. If necessary, cut your lumber with a miter saw, chop saw, or circular saw in accordance with your measurements. Make sure to apply a wood preservative to the ends of the grain cut.
4. Enjoin The Frame
Once the chopping and dicing part is over, now it’s time to cook the meal. Just kidding! Now you have the put the outer frame together. The frame should be nailed together with special framing nails that are hard and easy to bend. Start with the top part and gradually join the middle and bottom parts to build an outer frame. You will have a hollow box.
5. Settle Up The Frame
Use a tape measure to take a diagonal measurement from the first corner to the next. Make sure to finish both series of corners. Verify the accuracy of the measurements. If not, give the longer corner a light hammering. A shift deck block might be required occasionally. Adjustments should be made until the readings line up.
6. Anchoring The Floor Frame
This is undoubtedly the most crucial part of the portable shed. To make this process smooth, marking up the grounded blocks play a role. As you have pinpointed all the blocks, it is time to make the foundation and fixate the frame. Generally, the best option for anchoring is concrete piers, if the state law permits them.
Point and mark the anchor corners considering the edges of your shed. Digging a hole on those marked points, add fiber-form tubes at each of the holes. Make sure the top tier is 3-4 inches up from the ground. Add concrete mixture to the hole and let it curate properly. Now, add a bracket on the bottom layer of the frame and attach them to the anchors.
7. Installation Of Rim Joists
Rim joists provide support and hold the weight of the walls of the shed. To prepare the rim joists, first cut the joists following the previous procedure. With a 12 inches gap, place them in the center.
If required, relocate the rim joists underneath the joint of the sheets by multiplying the step between them by the width of the sheet. Along the length of the frame, trace the increments on all sides. It is necessary to mark the location of each joist’s center.
Simpson screws are used to fasten the joist to the hangers attach to the frame. The joists must be flush with the top of the frame, so check that they are. The joists should go into the hangers. If it’s a little difficult, tap them down with a hammer.
Use some 3 inches of nails to fasten the hangers and hammer them at an angle to attach both the joist and frame. If you have a bigger shed, you should use a support beam at the center as well. This will provide some additional support.
8. Sheets Placement
Now that you have a viable frame, you can lay down the sheets that will hold your shed. For this, plywood would be the best option. As per your wish, cut the dimensions of the plywood evenly. Lay the in a single layer and screw them with the joists. Also, with glue attach the sheets to each other.
The screw should be apart from each other by 8 inches. On the colluding points of the frame and joints, adjust them with two screws for extra support and security. As the base is formed, you can now place your shed on it and move it as you like.
Final Words
When you carry around the world in your head, you also need to carry around a viable office to execute your brilliant ideas. A portable office shed can make your life a lot easier and cheaper. And if you are worrying about the cost of the shed, go through this article Is A Prefab Shed Cheaper Than A Building? if time permits.

