How To Setup Home Office Lighting For Video Conferencing?
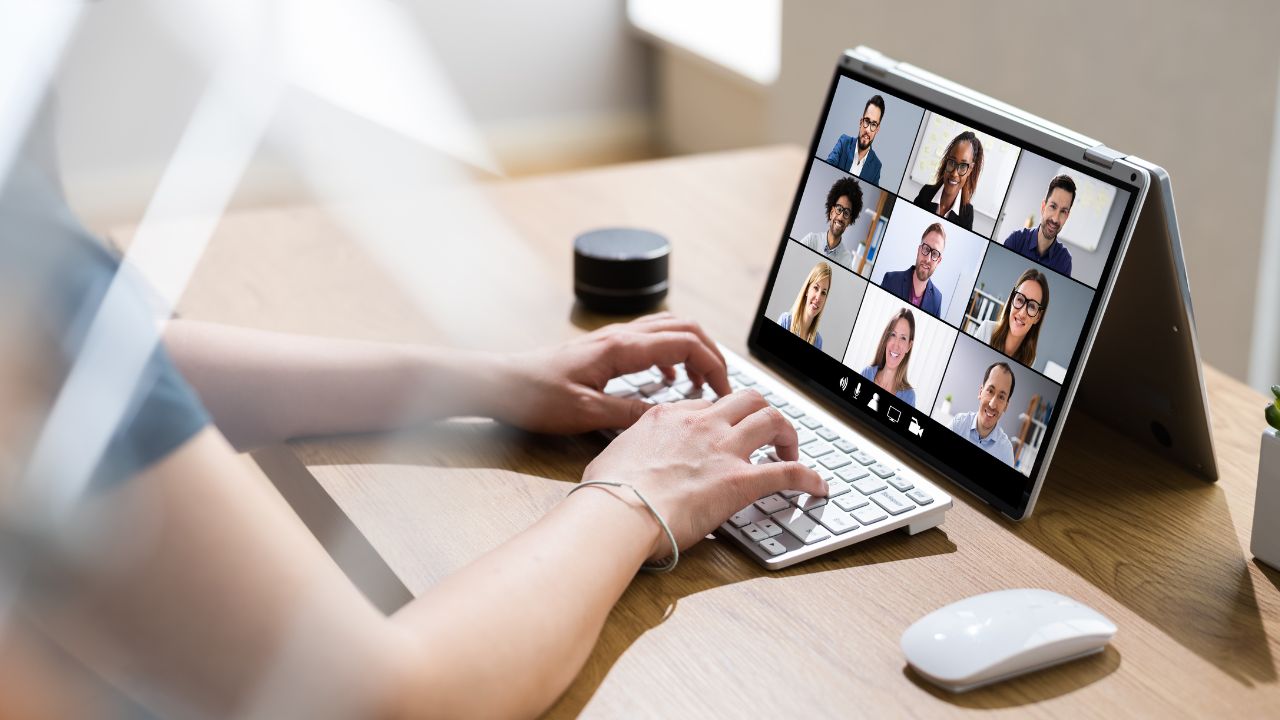
You spend hours getting ready for an online meeting. But once the camera is on, you either look like Casper the ghost or a black shadow. And all your confidence goes down the drain. Does this situation sound familiar? If yes, then you must read this article till the end. Because today we will be discussing how to set up home office lighting for video conferencing.
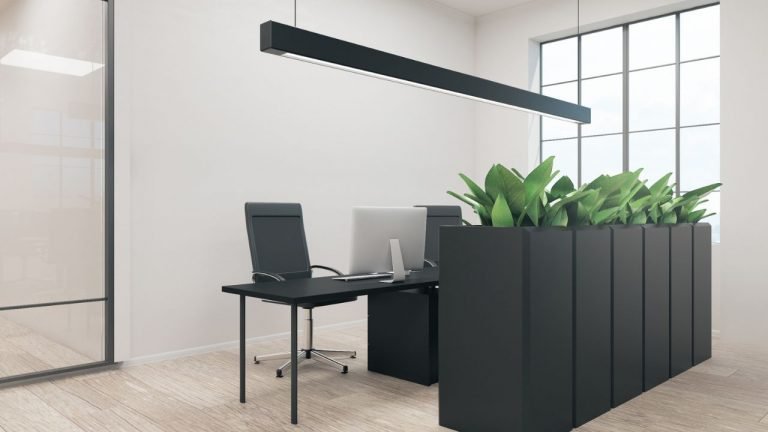
Let the natural sun rays come in. If you don’t have a big window in the home office, install a smart LED panel light on the ceiling. The shape doesn’t matter as long it illuminates the whole room. To further enhance your appearance, place a ring light in front of you. You can even try professional studio lights for the perfect results.
Whichever option you use is up to you. But we won’t leave you with that. In this article, we will be discussing the common office lighting options for video conferencing and how you can set them up. We will further discuss how to make your appearance more pleasant with different lighting adjustments.
So, if you are ready, let’s get into it.
What Type Of Lighting Is Best For Video Conferencing?
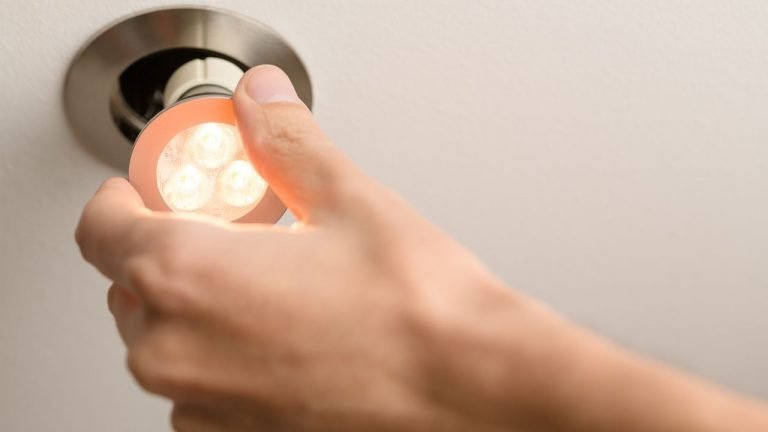
Mostly four types of lighting systems are available in the market such as incandescent, fluorescent, CFL & LED. You can have the desired brightness level using any of these bulbs. However, when it comes to preparing the ideal setup for video conferencing, the smart LED panel lights win the game.
And, here’s why:
- First of all, LED lights offer better adjustability. You can shift the color tone from warm to cool using a regulator. No other lighting system comes with this benefit.
- Another useful feature is energy efficiency. Compared to traditional bulbs, LED lights are 90-95% more energy-saving. Only 13 watts is enough to generate 800 lumens easily.
- LED lights also last longer. Whereas a typical incandescent bulb can complete 1000 hours cycle, LED lights can easily go up to 20,000 hours.
- Moreover, LED lights are easy to position due to their lightweight.
If you want to know more details about the other lighting systems and their qualities, kindly check out this article. Here, we have discussed the pros & cons of each of them.
How To Set Up Good Lighting For Video Conferencing?
We have already discussed the right lighting type for home offices. But that’s not enough. To set up good lighting for video conferencing, you must know several other factors that can enhance or decrease the lighting quality. So, what are they?
Color Rendering Index
CRI is a measurement for color accuracy. That’s right. Lights can have different CRIs. That’s the reason, the color of a dress or your skin might look crispier under certain lighting backgrounds. So, what does it imply?
Well, if you are attending a video conference to present your work, lights with higher CRIs (above 80) are the right option. Because it helps the viewer to see small details of the work like designs more clearly.
However, if you are someone who wants to look at a corporate conference, we won’t suggest the same for you. Because higher CRIs can also make the blemishes on your skin more noticeable. Nonetheless, don’t go below 80 if you are looking for a lower CRI.
You see, the decision is dependent on what you want to achieve through that online meeting.
Color Temperature
We are saying it again. Natural light works best for a video conference. So, what’s the ideal color temperature to get a natural effect?
Scientists measure color temperature on a scale of 100 to 10,000 kelvin. The higher you go on the scale, the tones become brighter and bluer. Theoretically, 6500 kelvin is enough to mimic the natural tone of the sunlight.
If you want to keep it more subtle, our suggestion is to stay within the 3500 to the 4000-kelvin range. It showcases a warm white light. Anything below this range would give an orangish vibe. So, try to avoid lights with 3000K or less.
Luminosity
Luminosity is the new word to describe the term “brightness.” Previously, watts used to be the universal unit to measure a light bulb’s capacity. But that changed after the introduction of LED lights.
You see, LED lights are designed to save energy. That’s why they can provide the same level of brightness without requiring as much electricity.
Nowadays, manufacturers use the term “lumen” to compare the luminosity of every light bulb. 800 lumens are considered ideal for a single light on the ceiling. If your room is bigger, you can easily add two more bulbs to the ceiling. That will give you (800×3) = 2400 lumens in total.
1500 to 2500 “lumen” is the ideal range of brightness for a home office depending on the size (of course!). Want to compare the luminosity of LED bulbs with incandescent ones? Follow this article here.
How Do I Light My Office For Zoom Calls?
Here are some ways to light up your office for zoom calls.
Natural Sunlight
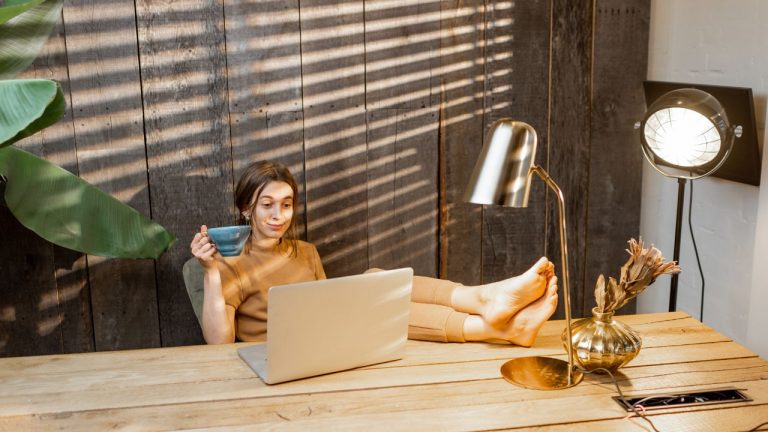
The easiest way to light up your office is by getting enough sunlight. All you have to do is place the desk in front of the window. Now, sit on a couch or chair facing the window. Unlike fluorescent light, natural sun rays are not harsh.
It also makes your face stand out even more. Don’t worry if you don’t have a window in the home office. You can just create a temporary office near the window. Use that place while attending zoom calls.
LED Panel Light
LED panel lights are the alternative to natural sunlight. It illuminates an area more efficiently than average LED bulbs. You will find these panel lights in various shapes: round, square, oval, etc. Some buyers claim that the “square” panels provide better luminosity.
However, it can be a little tricky to keep the panel parallel to the wall. If you don’t want so much calculation, stick with the “round” one instead.
Ring Light
Ring lights are adjustable and easy to carry around. Most YouTubers depend on ring lights for better lighting. It might be expensive for temporary use. We would only recommend it if you need to join online meetings that are not going anywhere.
The best thing about a ring light is its shape. Unlike the typical “bulb” shape, it doesn’t directly light up a particular side of the object. The 360 degrees of illumination make sure that your face is receiving light from every angle possible. As a result, there is no fear of shadows.
Studio Light
What can be better than using professional lighting gears? Yes, studio lights are used by professional photographers & videographers to make an object look perfect. How does it work?
Well, the package includes one key light and two filling lights. As the name suggests, a key light is the primary source of lighting. So, it has the highest capacity among all three lights. It is directed towards the object.
While the filling lights are only there to eliminate any kind of shadows. It is positioned opposite the key light. Both lamps negate each other’s shadow and provide the highest illumination.
Overhead Light
Overhead lighting is a popular choice to highlight a specific area within the home office. But, when it comes to zoom calls, using overhead lights can be tricky. The problem with overhead lights is that they leave a lot of shadows.
Imagine holding a torch just beneath your jaws. You look scary, don’t you? That’s the same case with overhead lights too. The only difference is that here you look scary from the top angle.
The solution is to maintain a 45 degrees angle between your face and the light source. That way, the light won’t be able to wash out your face. You can install two hanging lights opposite each other. It will make sure each side of your face is getting hit by light.
Plus, the second light will eliminate the shadows created by the first light.
Quick Tip: It’s important to check ‘how you look’ on the laptop camera before the meeting. Because it’s highly possible that, the background looks bright in real life and extremely dull in front of the camera. So, make sure to check it.
What is the best lighting for zoom meetings?
You don’t need every type of lighting we mentioned above. So, which one works best for a professional zoom meeting? Our suggestion is to choose a smart LED panel light for the ceiling.
You already know how LED bulbs are more efficient than the other alternatives. Guess what? Panel lights go further than LED bulbs to illuminate every corner of the room.
It’s even better if the lighting has a warmer color temperature. Although we don’t recommend going below 3000k for office lighting, there’s one exception. When you are in video conferencing, the temperature of 2700k looks very aesthetic. It resembles the color temperature of a sunrise or sunset.
That’s why even fancy restaurants or homes install incandescent bulbs. Because most incandescent bulbs provide a “yellow” tone with lower color temperature (3000k to 3500k). So, if you want to stand out, try this technique.
That being said, going below this temperature can cause strain in the eyes. The ideal range is 4000 to 5000 K if you want to mimic a white fluorescent light.
Should Light Be In Front Or behind for zoom?
Never attend a video call invitation with a bright light behind you. It can give your face a “shady” effect that nobody asked for.
You see, the secret of better lighting lies within the position or angles. You can have the brightest light in your room and still look dull on the webcam. One of the main reasons is not knowing where the lighting position should be.
For example, you have a big wall window that lets in enough natural sunlight. It illuminates every corner of the room. Now imagine you are sitting against the window. All the light would bounce on your back and get reflected. That means, your background will look brighter than usual and you will end up looking like a grey shadow. It’s kind of funny.
However, you can change the whole game by just changing your position. Instead of sitting against the window, turn around and face it. Let the light bounce on your face. Sure enough, you won’t look dull anymore. Moreover, sunlight gives a blurry touch to your face and helps to hide away the blemishes. Consequently, you look better and more pleasant.
The rule is the same for any kind of lighting in your house. Make sure your back is not facing the main source of lighting in a particular room.
Quick Tip: Experts recommend keeping the background of your video conference plain. For example, a simple white wall. It enables you to grab most of the viewer’s attention to yourself. Also, try to pick some solid colors for your outfits to look sharper in front of the camera. Pastel or nude colors might look good in real life. But, it’s not a good choice when you are facing harsh lighting and a laptop camera.
What Size Ring Light Is Best For Zoom Meetings?
The best-selling ring light sizes are 10 inches & i8 inches. These numbers demonstrate the diameter of the ring. 8 to10 inch rings work better for selfies or close-up shots. When you need to be super close to the camera, these ring sizes do best. For example: make-up tutorial.
On the other hand, 14 to18 inch ones capture the entire room perfectly. Whether you are close to the screen or 5-feet away, it doesn’t matter. So, we would definitely recommend you to get an 18-inch ring light for the most comfort. You can also go for a 20-inch light. However, that would be overwhelming to attend a normal video call.

If you’re looking for an awesome ring light that won’t break after 2 months, I would recommend the one from Neewer.
This is an 18″ 55W Dimmable LED ring light. With the ring light, you’ll also get a light stand, soft tube, color filter set, ball head adapter, universal power adapter, smartphone holder, and a carrying bag.
Click here to check the latest price on Amazon!
How Do You Use A Ring Light For Video Conferencing?
Here are some simple tips to use the ring lights properly during a conference or meeting.
Place The Camera In The Center
The golden rule is to place the camera at the center of the ring light. Sometimes, the ring lights come with a mounting feature to set the smartphone. But, that’s not possible when you are using laptops. All you can do is, adjust the ring light just above the laptop screen. It will brighten up your face from every angle without leaving a shadow.
Watch Out For Glares
If you have other lighting sources behind your back, they can create a “glare” on the screen. And, you don’t want that. Make sure to reduce the brightness of task lamps or hanging lights. You can also put a cover or diffuser on the lights to spread the wavelengths all over the room.
Experiment With The Diffuser
Don’t just turn on & turn off the ring light. You will see a small diffusing feature that allows you to adjust the brightness. Ring lights are 100 percent dimmable. You can also change the color tone, and temperature easily. So, why not? Most of the time, the ring lights are pre-set to mimic the white daylight (around 5000 to 5600k). If you want a more soothing environment, diffuse the light.
How each color tone will affect your appearance also depends on the surrounding. So, the best advice is to keep experimenting until you hit the jackpot.
Quick Tip: If you increase the brightness level, the color accuracy will also increase. That means, your blemishes, dark circles, or pigmentation are more visible. So, prep your skin before facing the camera.
What Color Lighting Makes You Look Best?
You will have to understand a little bit of color theory to answer this question. As we know, visible lights are nothing but a range of wavelengths (380 nm to 680 nm). The higher you go up on the scale, the cooler it becomes. Violet, blue & green are examples of cool shades. These colors tend to wake up or alert our brains.
That’s why it’s so hard to fall asleep while scrolling a smartphone. Because this device emits blue light constantly. But, there’s one disadvantage of such colors. It makes you look “down” or “gloomy.” Since those colors come from the longest wavelengths, it also feels harsh to the eyes.
On the other hand, if you go lower on the wavelength chart, you will find red or orange. These colors have the shortest wavelength. As a result, it can be difficult to see properly under such lighting.
So, what have we got? Well, in between both extremes, we have the color yellow. It is proven that yellow light looks best on any skin tone. The wavelengths are medium and comforting to look at. Ask any professional photographer and they’ll tell you the best time to get the perfect photo. It’s early in the morning or just before sunset.
Because the lighting gets slightly yellow during those specified moments. That’s another reason why yellow is termed a “happy” color. Any picture tends to become more soothing and pleasing under yellow lighting.
Quick Tip: Do you want to keep a clean or plain background behind you? But what if the color of the wall is not subtle? Well, try covering the wall with a white or off-white curtain. You can also try sticking white paper to the specific part of the wall that can be seen via webcam.
Where Should I Place My Webcam Light?
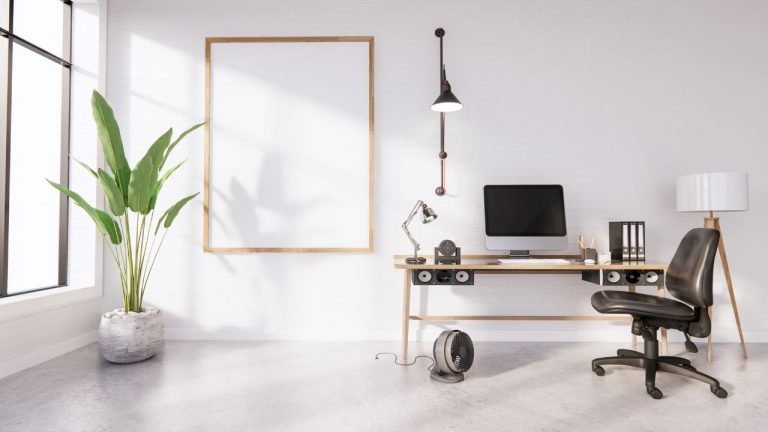
You can have a great video conferencing experience even without expensive ring lights. Just use the desk lamps as your webcam lights. But the question is where to place them?
It would be best to keep two lamps beside the computer screen. If the lamps emit harsh lights, you will find it hard to keep your eyes open for a long time. The solution is to use diffusers or covers on top of them. It will reduce the concentration of the light beam and spread it out. Now, you have a warm lighting source in front of your face.
Next, it’s time to find the angle. You could just keep them parallel to your face. But, to get the special contour effect, tilt the lamps slightly. Make sure the light is highlighting your forehead and cheekbones the most instead of your neck or nose. You can get it right by experimenting.
Final Note
Video conferencing is a part & parcel of work-from-home. And, we noticed how people lose confidence during these meetings when they are not looking their best. It’s sad. But, it’s not your fault. Just a little change in the lighting setup can turn the game for you.
That’s why we tried to educate you about which lighting works best for online meetings through this article. We also mentioned various tactics to look more pleasant and sharp in front of the camera.
Hopefully, now you understand how to set up home office lighting for video conferencing. So, are you ready to face the camera?
![4 Types Of Lights Use In Home Offices [& The Best One]](https://homethereby.com/wp-content/uploads/2022/07/Types-Of-Lights-Used-In-Home-Offices-768x432.jpg)